Create Web Application in Netbeans IDE and maintain project structure like following:

Use the following steps to create such project:
1. Create java web application in net-beans.
2. Then check out index.html and write html link tag on this page.
<html>
<head>
<title>index page</title>
<meta charset="UTF-8">
<meta name="viewport" content="width=device-width,
initial-scale=1.0">
</head>
<body>
<h1>Services</h1>
<a href="Signup.html">Student Registration</a>
</body>
</html>
3. Create Servlet for user Student_Registration.java.
import java.io.IOException;
import java.io.PrintWriter;
import java.sql.Connection;
import java.sql.DriverManager;
import java.sql.PreparedStatement;
import java.sql.SQLException;
import javax.servlet.ServletException;
import javax.servlet.http.HttpServlet;
import javax.servlet.http.HttpServletRequest;
import javax.servlet.http.HttpServletResponse;
public class Student_Registration extends HttpServlet {
@Override
protected void doGet(HttpServletRequest request, HttpServletResponse response)
throws ServletException, IOException
{
response.setContentType("text/html;charset=UTF-8");
PrintWriter out = response.getWriter();
String n=request.getParameter("Name");
int r=Integer.parseInt(request.getParameter("Rollno"));
String e=request.getParameter("Email");
String p=request.getParameter("password");
try
{
Class.forName("com.mysql.jdbc.Driver");
Connection
con=DriverManager.getConnection("jdbc:mysql://localhost:3306/ims2",
"root", "root");
PreparedStatement ps
=con.prepareStatement("insert into student values(?,?,?,?)");
ps.setInt(1, r);
ps.setString(2, n);
ps.setString(3, e);
ps.setString(4, p);
int check=ps.executeUpdate();
if(check>0)
{
out.println("<h1>Student registration
successfull.</h>");
}
}
catch (ClassNotFoundException ex)
{
out.println("<h1>Driver
class not found</h1>");
}
catch (SQLException ex)
{
out.println("<h1>Connection object not
created.</h>");
}
}
}
4. Create a signup.html user registration page.
<html>
<head>
<title>Student
Registration</title>
<meta charset="UTF-8">
<meta name="viewport" content="width=device-width,
initial-scale=1.0">
<style>
.Container
{
background-color: gray;
width: 50%;
height: 30%;
}
body
{
background-color: green;
}
h1
{
background-color: red;
}
</style>
</head>
<body>
<h1>Student
Registration Form</h1>
<div class="Container">
<form action="Student_Registration" method="get">
Name: <input type="text" name="Name"/><br><br>
RollNo :<input type="text" name="Rollno"/><br><br>
Email: <input type="text" name="Email"/><br><br>
Password:<input type="text" name="password"/><br><br>
<input type="submit" value="Register"/>
</form>
</div>
</body>
</html>
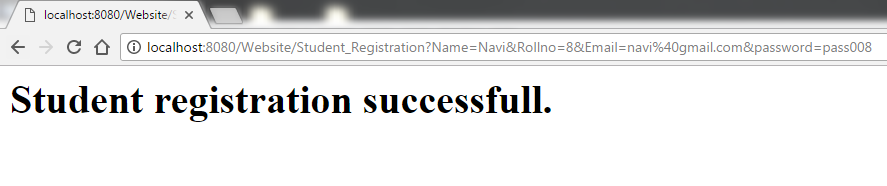
Sample output is as below:
First index page will be open:

After that click on Student registration, you will get the following form below:

Fill the form:

Then Submit it as below:
Use mysql and type following command with selected database.
and check your data:
